Black Sweatshirt with Silver Glitter Design: Thrifted, $2.50.
Silver Glitter Headband: set of five for $3 at Rugged Warehouse.
 This little cat came up while I was taking pictures and I couldn't resist playing with it. I would have wanted to keep it but I think it might belong to one of my neighbors.
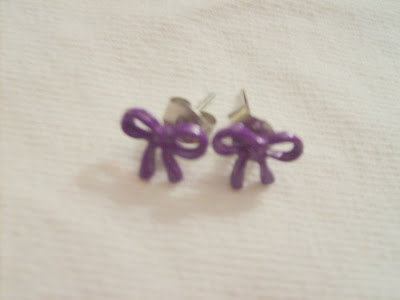
 Bow Earrings: I've had these forever so I really can't tell you where they came from, etc.
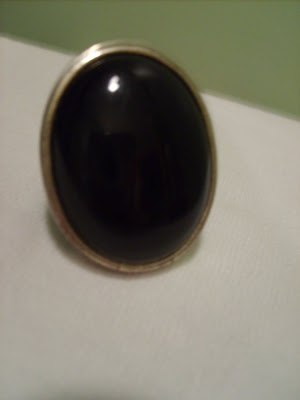
 Black and Silver Ring: This was a gift...
 Silver Ring: This was a gift too...
 Silver Ring: set of six from Wet Seal, apx. $5.
 Silver Rhinestone Love Ring: Urban Outfitters, $10.
 Vintage Silver Clutch: Thrifted, apx. $5.
 DIY Paint Splatter Boots: Purchased years ago from Shoe Carnival on clearance for $5. I hardly ever wore them and when I found this amazing tutorial for making paint splatter boots by Annie Spandex, I knew what was in store for my white boots. You definitely need to check out her original directions if you're going to try this.
 This is what my white boots looked like before they got the paint splatter treatment. When I bought them back in 2005 for just $5, I thought I would wear them all the time. It didn't happen but I was never able to part with them. I think they might have some new life in them now though.
 I started off by wrapping a few rubber bands around them as though they were going to be tie-dyed.
 Then I mixed two parts fabric paint medium, one part black fabric paint and a little water in a spray bottle and sprayed both boots. The spray bottle I had put out more of a stream of paint as opposed to giving it a super splattered look, but I found that spraying from further away helped.
 Next I mixed two parts fabric paint medium with one part purple fabric paint and a little water and sprayed this on as well because I wanted multicolored boots.
 Then I let them dry. They were still wet after four days (maybe it's the weather?) but I went ahead and tried to set the paint with my hair dryer and they don't feel sticky anymore, so hopefully it worked! This is the finished product. I'm really happy with them but I'm not sure how many outfits I have that they'll work with. It's more the boot than the effect that I'm unsure about; I'm just not a big fan of the height of this boot anymore, but the paint splatter has definitely helped them out.
Don't forget to follow me on Bloglovin' or Google Friend Connect if you like this post!


Aw! Those boots are cool! And I love your top! <3
ReplyDelete~ Katie
I'm now following you on bloglovin!
ReplyDeleteAwesome post! The boots turned out great really nice tutorial showing you did them as well. I noticed they had a cool pink sole too.
www.arashmazinani.cm
Ooooohhh I love tutorials!! I am def going to go check her out!! I love reviving old pieces esp if you never really wore them before. I love the boots!
ReplyDeleteI am also loving that LOVE ring from UO!!
XX
Sorry for the double comment BUT I just check out Annie Spandex site and I LOVE IT!!! I am now following her thanks for the link!
ReplyDeleteAnd I am following you now too, i dont know why but I thought I already was!
XX
Thanks for all the love on tutorial! I think I may do some more very soon! And I'm sooo glad you guys like Annie Spandex as much as I do. She's so creative!
ReplyDelete-Meagan
ooo i love tutorials do more of them pls :)
ReplyDeleteWOW!! Yay! They look so good! Definite upgrade! Thank you so much for sharing and for the love. :D This made my day!
ReplyDeleteI wonder if they took a long time to dry because of the shoe material.. If they're pleather or leather, the fabric medium may not have been necessary and might be responsible for the gummy factor. Regardless, they look great so I'm glad it worked out!
Thanks also to Lady Lipstick! xoxx
Fuyume-I absolutely want to do more tutorials in the future. I've got a couple ideas I'm working on and hopefully will have something to share next week!
ReplyDeleteAnnie-These boots are pleather so that might be why they took so long. They were definitely worth waiting for! Thanks for your support and all your ideas!
Ah great idea!!
ReplyDeleteThanks for posting photo's of every step! ;)
Kiss